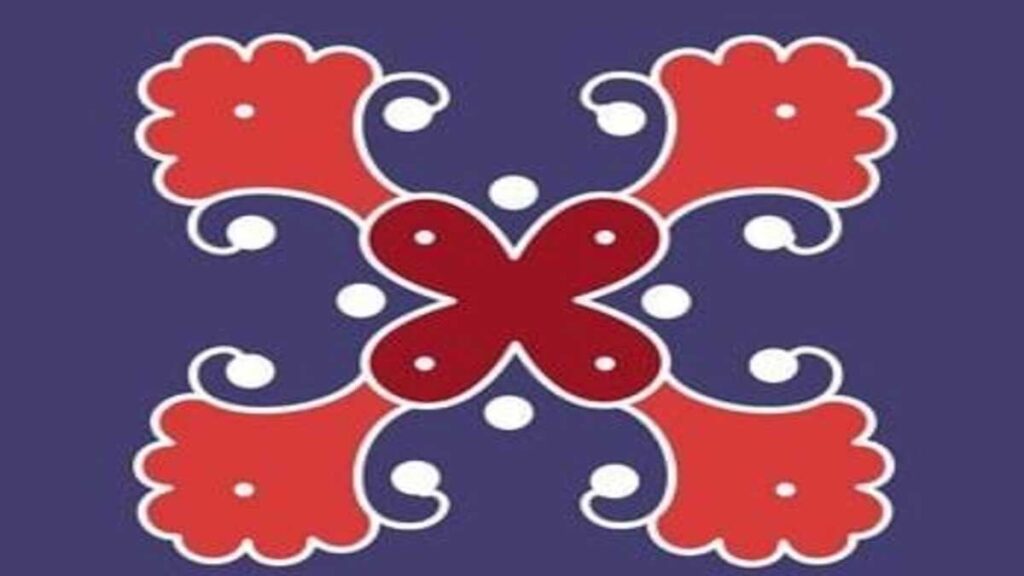
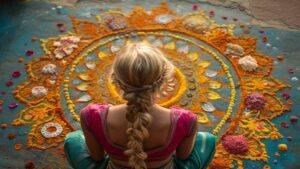
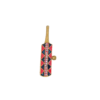
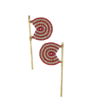
Pink and white are the colors used in the most distinctive and blossoming Lotus Rangoli Designs. This is caused by the distinct baseline in addition to the fact that the Lotus blossom is pink in color and has a pattern resembling that. Lotus designs are distinct from most other floral designs in rangoli patterns. On its own, it is really simple, incredibly attractive, and rather straightforward. These are not just great Rangoli Lotus Designs, but they are also really great styles.
This lovely pattern of Rangoli designs was created using artistic methods and lovely Lotus rangoli design images. Explore some of the most beautiful designs for Lotus Rangoli.
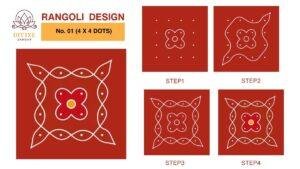
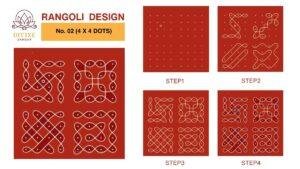
Designs of Lotus Rangoli with Dots
In fact, one of the most well-liked designs from South India is the Lotus Rangoli Design, despite its quite simple dots. This specific Rangoli design is called a Muggulu Rangoli Design or a Chukki Rangoli Design.
Where Rangoli draws the dots and the rest of their artwork rather than merely filling them in with extra colors that match well with the overall theme, when it comes to beautiful Lotus Rangoli Designs, this is one of the best designs.
Blossoms Lotus Rangoli Design Creation Step-by-Step Guide
Select a Location
Choose a place that is appropriate for your rangoli. Although rangoli is traditionally produced at a home’s entrance, you can make it in your living room or any other area of your choice. Make sure the surface is dry and clean.
Layout the Surface
For easy Rangoli patterns, sweep and tidy the area where you will create the rangoli before you start. If you are working on an uneven or rough surface, use sand to create a smooth base.

Design Selection
Choose the style that you wish to produce. Novices should begin with straightforward patterns like geometric shapes, flowers, or leaves. Rangoli stencils are another tool you can use to aid in the more precise creation of your artwork.
Describe the Design
Easy Rangoli Patterns, Draw the basic outline of your artwork on the ground using chalk or white flour. This will help you stay in balance and act as a guide.

Fill in the Colors
Start by taking a small cone or cup and filling it with colored sand or rangoli powder in the color of your choice. Shake the cup slightly to ensure an even distribution as you carefully pour it inside the drawn outline. To uniformly distribute the color inside the lines, you can also use your fingertips.

Layering and Hue
Easy Rangoli Patterns, You can add layers to your rangoli design by incorporating more colors or tones to give it more depth and complexity. To add vibrancy to the design, choose complementary or contrasting colors.
Add Details
Once you have filled in the base colors, use a fine brush or your fingers to add minute details to your design. This could consist of tiny dots, lines, or extra.
Last touches
Carefully polish the margins of your rangoli using a brush or a soft tap to remove any extra sand or powder that may have spread outside the outline.
How to Protect Your Blossoms Lotus Rangoli?
Use a small mist of water or scatter a little water over the design to prolong the life of your rangoli. This helps the powder or sand adhere better to the ground.
Appreciate Your Work: Take a moment to appreciate the exquisite rangoli pattern you have created. You’ve done a great job creating a piece of art that is both straightforward and sophisticated, suitable for any setting.
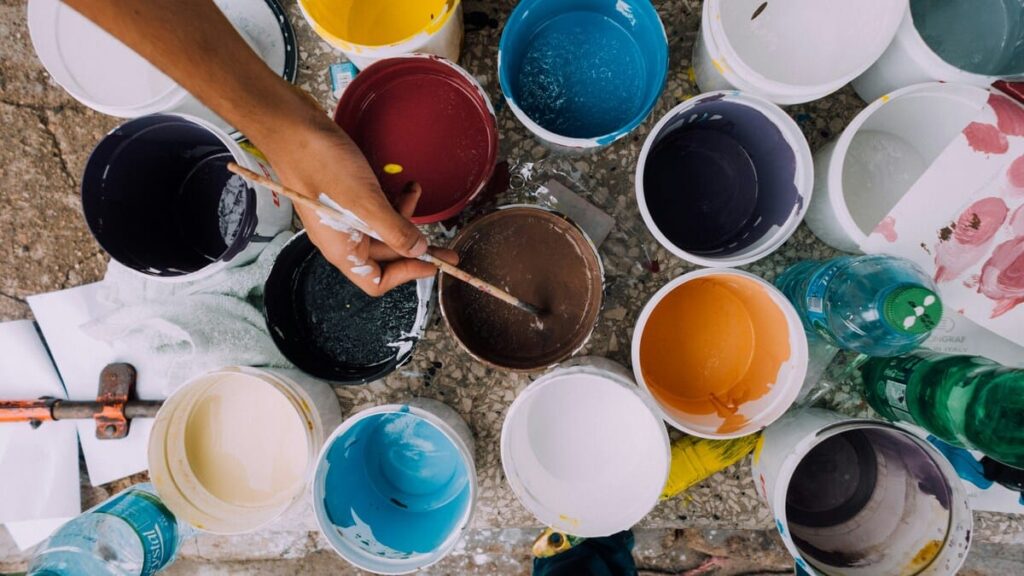
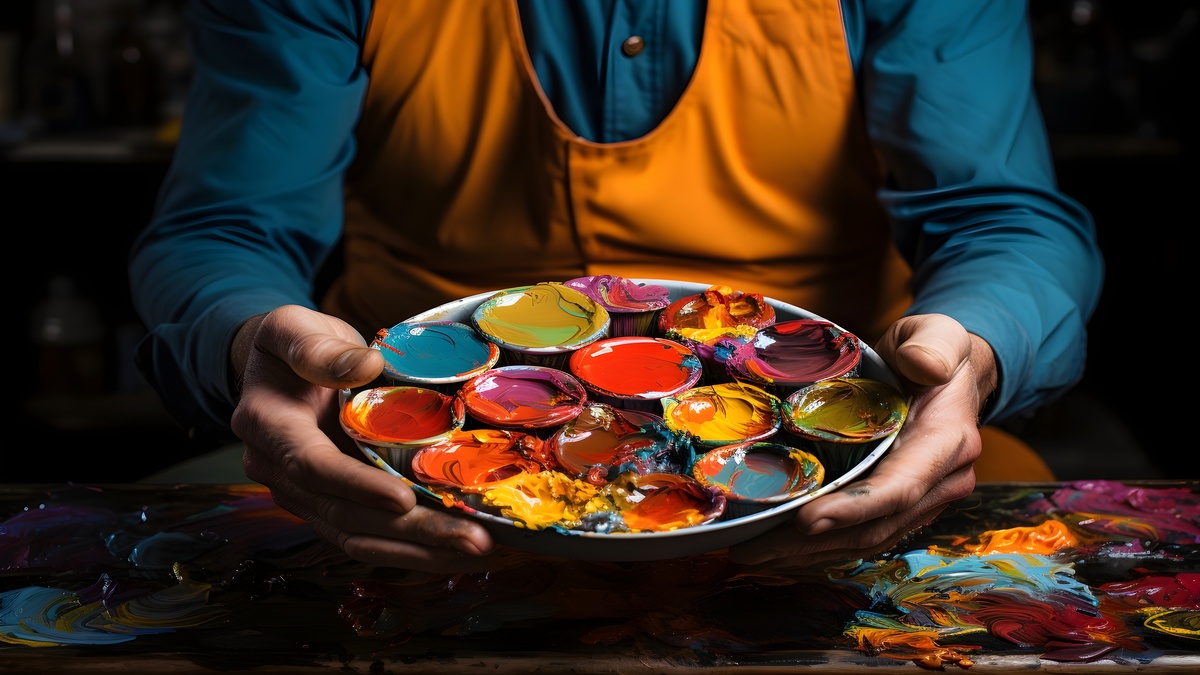
Materials Used for Rangoli
Despite Rangoli being an intricate art form, the actual rangoli material is reasonably priced and simple to obtain. When thoughtfully selected, they will invariably bring Rangoli’s design to life and enhance its colorful attractiveness. Often utilized to create the ideal Rangoli are the following materials:
- Kolam Powder: This fine powder, with its white color, is used to draw the first outline of the rangoli. After creating the basic contour, people employ other materials to fill the interior of the design.
- Fuller’s Earth: Another function of Multanimitti, also known as Fuller’s Earth, is to outline the Rangoli. People primarily use Fuller’s Earth, renowned for its aesthetic properties, for freehand rangoli creations when minimal embellishment is needed. In South India, people widely use this rangoli material.
- Colored Rangoli Powder: This ingredient is the most crucial since it gives the rangoli its distinctively vibrant appearance. Mixing different amounts of fine sand with colored powder, such as Gulal, achieves the appropriate color tone. Additionally, sand promotes the economy and reduces the use of color.
- Crystal salt: It gives the Rangoli volume. Adding color to a base of crystal salt gives the rangoli a three-dimensional appearance.
- Petals and Flowers: They employ them as a “Garnishing” agent, drawing attention to the boundaries of the rangoli and enhancing its beauty.
- Candles and diyas are used to illuminate the Rangoli and give it a mysterious touch.
- Colors for Fabric/Posters: You can use Poster or Fabric colors to create semi-permanent.Rangolis.They can withstand unintentional water spills because they are somewhat water-repellent.
- Colored chips and stones: These give the Rangoli more volume.
- Produce and grains: Even though it is a relatively recent idea in Rangoli design, it is gaining popularity.
Conclusion
Making a Rangoli is too easy, even for a novice, if you have the correct amount of imagination. Due to its traditional significance and relative simplicity of creation, people will undoubtedly continue to see rangolis in everyday life for many years to come.


Add comment